Whether you are new to mountain climbing or you have been doing it for years, picking the right ice axe for your exhilarating mountain adventures can never be underestimated. It is one of the most important aspects of the vocation, and the exercise of selecting the right ice axe for any outing never stops. Even when you attain a ‘Reinhold Messner’ level of mountain climbing, picking the right ice axe for yourself, be it long-term or short-term, will always ensure your safety and preparedness.
That said, every new or experienced mountaineer should know:
- What an ice axe is
- The different types and when to use them
- How to pick the right ice axe size for yourself
- How to use an ice axe
- If you need one ice axe or two
Other important things to know include
- How to attach an ice axe to a backpack
- The ice axe accessories
What is an ice axe?
The Mountaineers, one of the most prominent alpine clubs globally, described an ice axe as “a multi-purpose hiking and climbing tool used by mountaineers in both the ascent and descent of routes that involve snow, ice, or frozen conditions”. Below is an image of a typical ice axe.
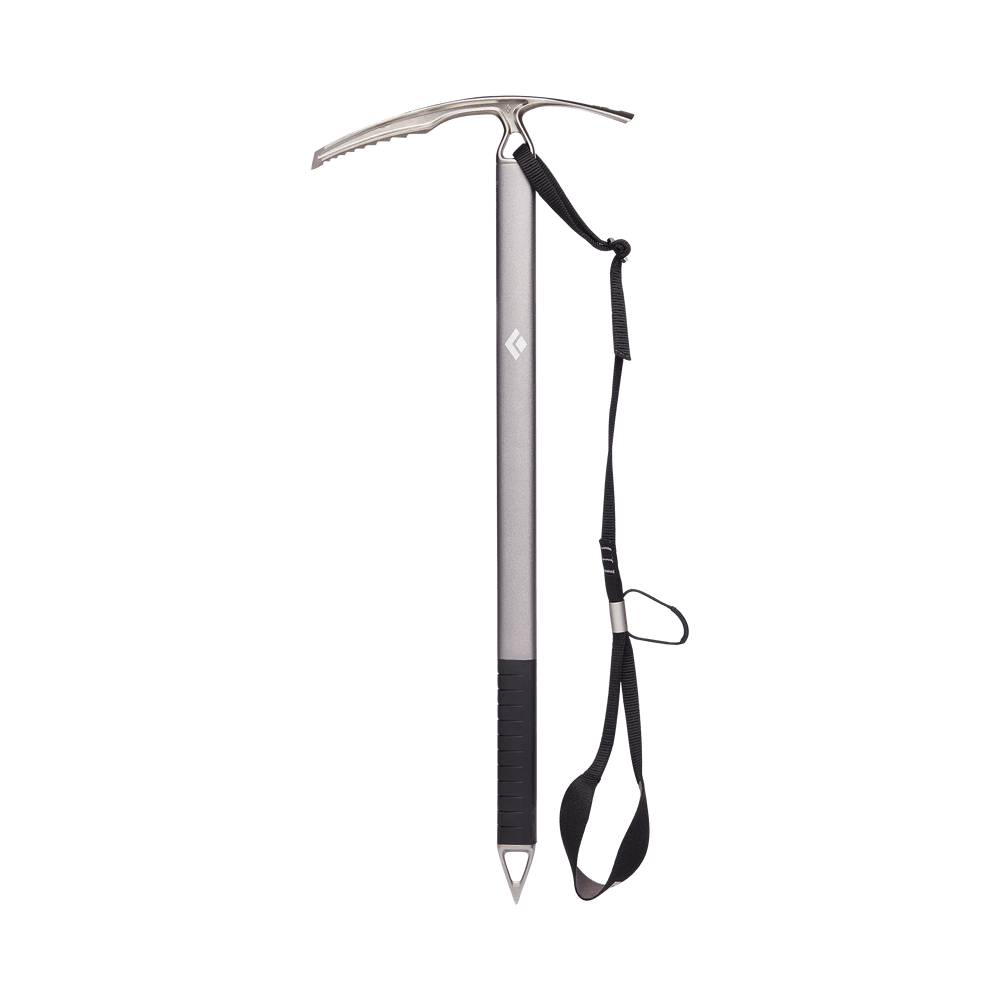
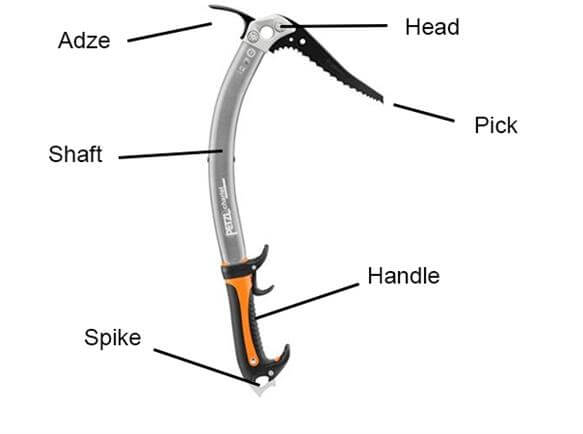
They come in various shapes and sizes, but they essentially consist of the following parts:
- Head – usually made of metal, it features the pick, adze and carabiner holes. The carabiner holes are used to affix a leash or carabiner.
- Pick – the pointed toothed part of the head. Primarily used for self-arrest.
- Adze is the flat, wide part of the head used to chop steps on the ice.
- Shaft – either straight or slightly curved, it connects the head to the spike and is generally used for grip or handling. It is usually made of lightweight metals such as aluminium or titanium or materials such as Kevlar, carbon filaments or fibreglass.
- Spike – usually made of metal, it is the pointed tip at the base of the shaft. It is generally used to penetrate the snow for balance, stability and safety.
- Handle – primarily found in ice tools (a particular type of ice axe), is usually found below or on the shaft to enhance grip.
Origin of the ice axe
The ice axe originates from the alpenstock, a long wooden pole with an iron spike tip used by alpinists since the Middle Ages. Still, its design is a combination of an alpenstock and a small axe, conceived from an illustration of Jacques Balmat carrying these two tools, the former used as a walking stick for climbing snowy terrains and the latter for chopping steps on icy slopes.
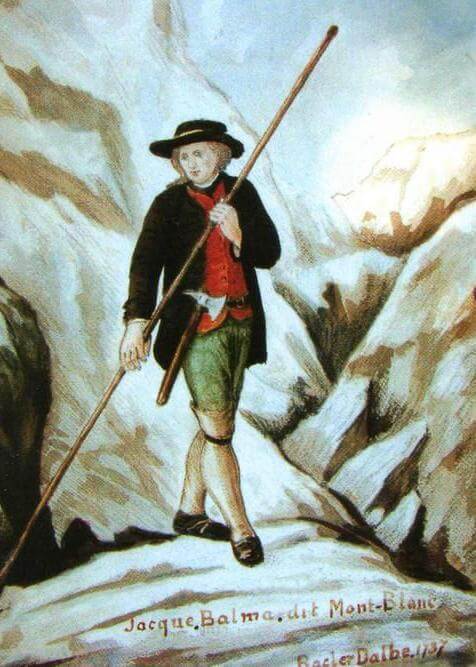
According to Grivel, the first genuine ice axe was created around the 1840s.
Different Types of Ice Axe and their Uses
As a mountaineer, having a set of ice axes in your climbing arsenal is definitely a sound idea. But there are many different types of ice axes out there, and they are all designed for various aspects of climbing. So, it is your responsibility as a mountain climber to know which types are ideal for different situations and terrains of mountain climbing. Generally, there are three major types of ice axes;
- Walking/Non-technical ice axes
- Technical ice axes/Ice tools, and
- Highly-Specific Specialized ice axes
Walking/Non-Technical Ice Axes
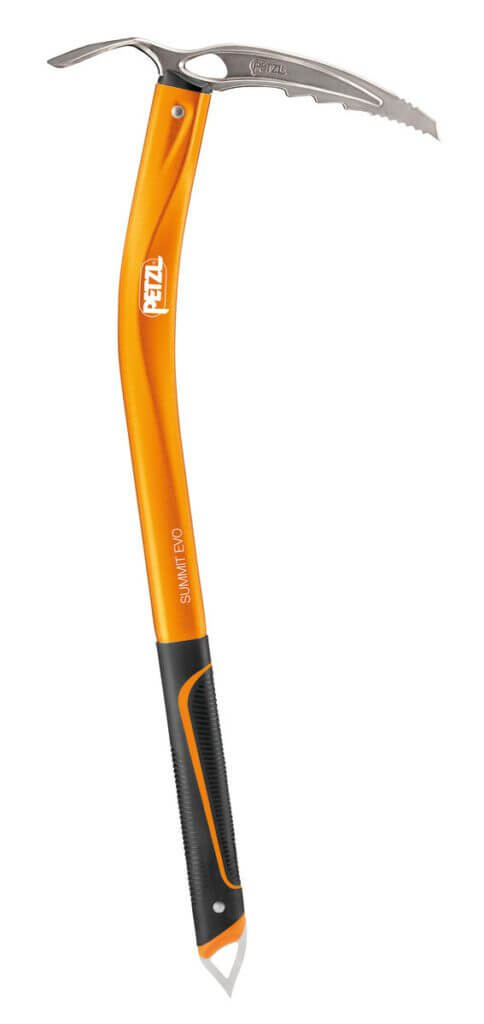
Walking ice axes have straight or slightly angled shafts and lighter picks that are a bit weaker with less aggressive teeth. They are commonly used as walking sticks on ice or snowy terrains that are less steep. Their straight shafts also make them ideal for performing self-arrest (stopping a slide or fall). Popular walking/non-technical ice axes right now include the Black Diamond Raven, Petzl Summit Evo and the Grivel Air Tech Evo.

Technical Ice Axes/Ice Tools
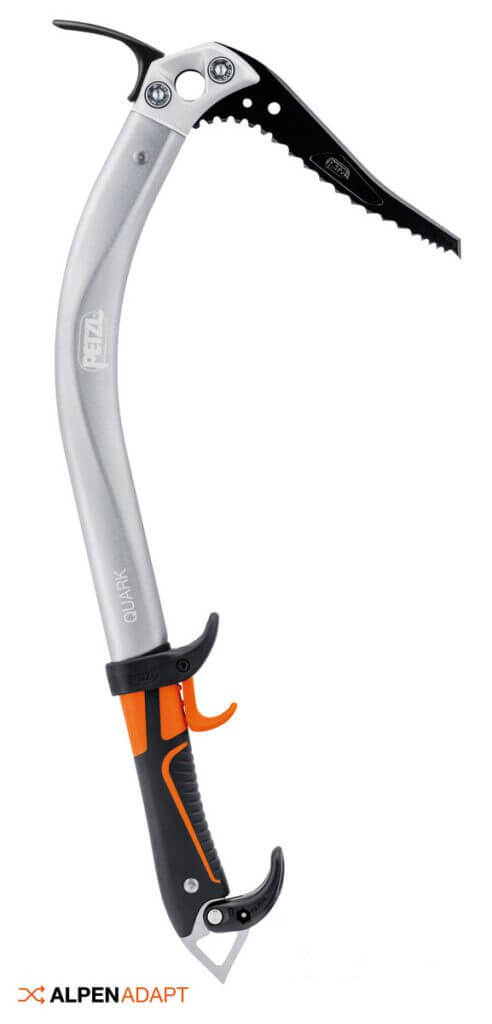
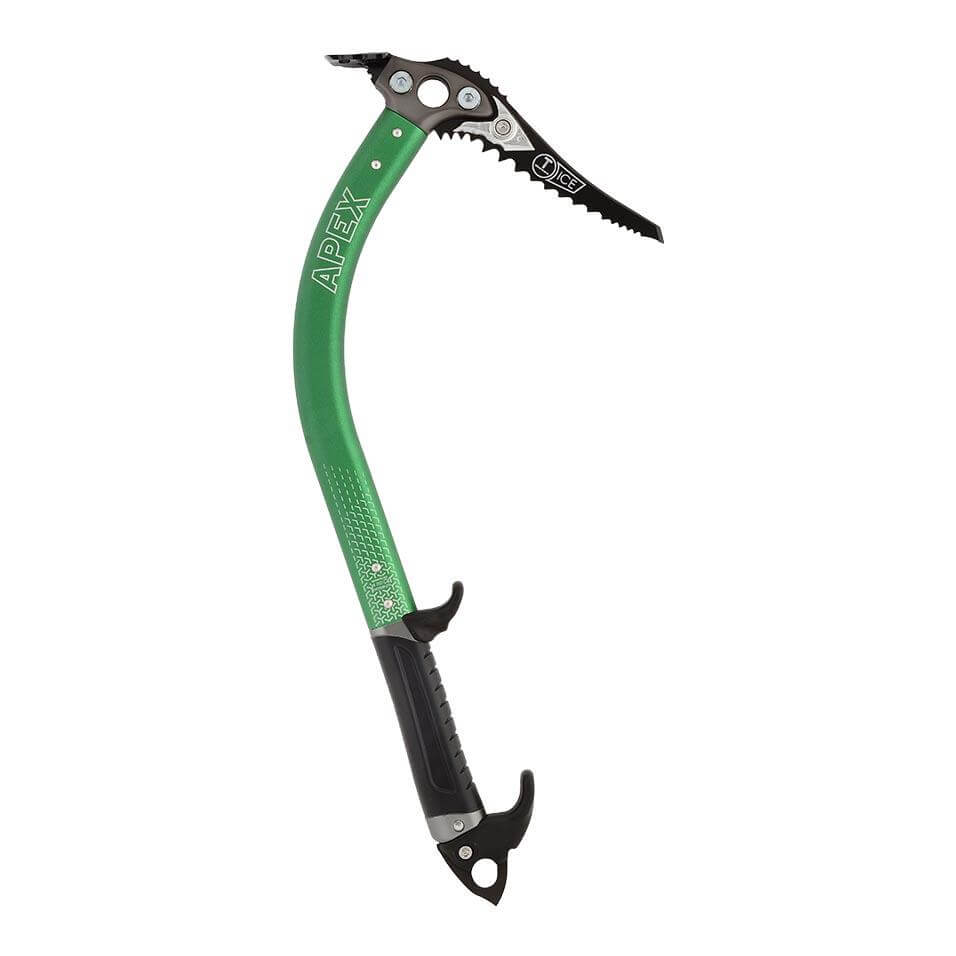
Technical ice axes generally have curved shafts and stronger, slightly heavier picks with more aggressive teeth. The heavier picks make each swing have more momentum to cut into harder ice. They are used for steeper terrains and harder ice chipping. Examples of technical ice axes include the Petzl Quark, DMM Apex and Black Diamond Viper, among many others.
Highly-Specific Specialized Ice Axes
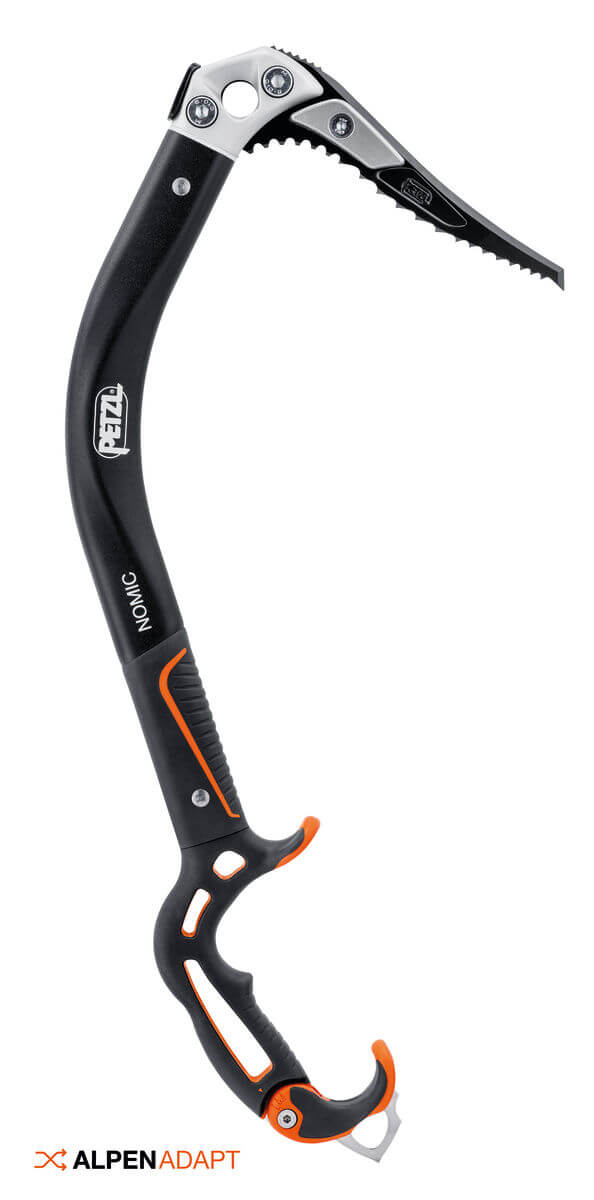
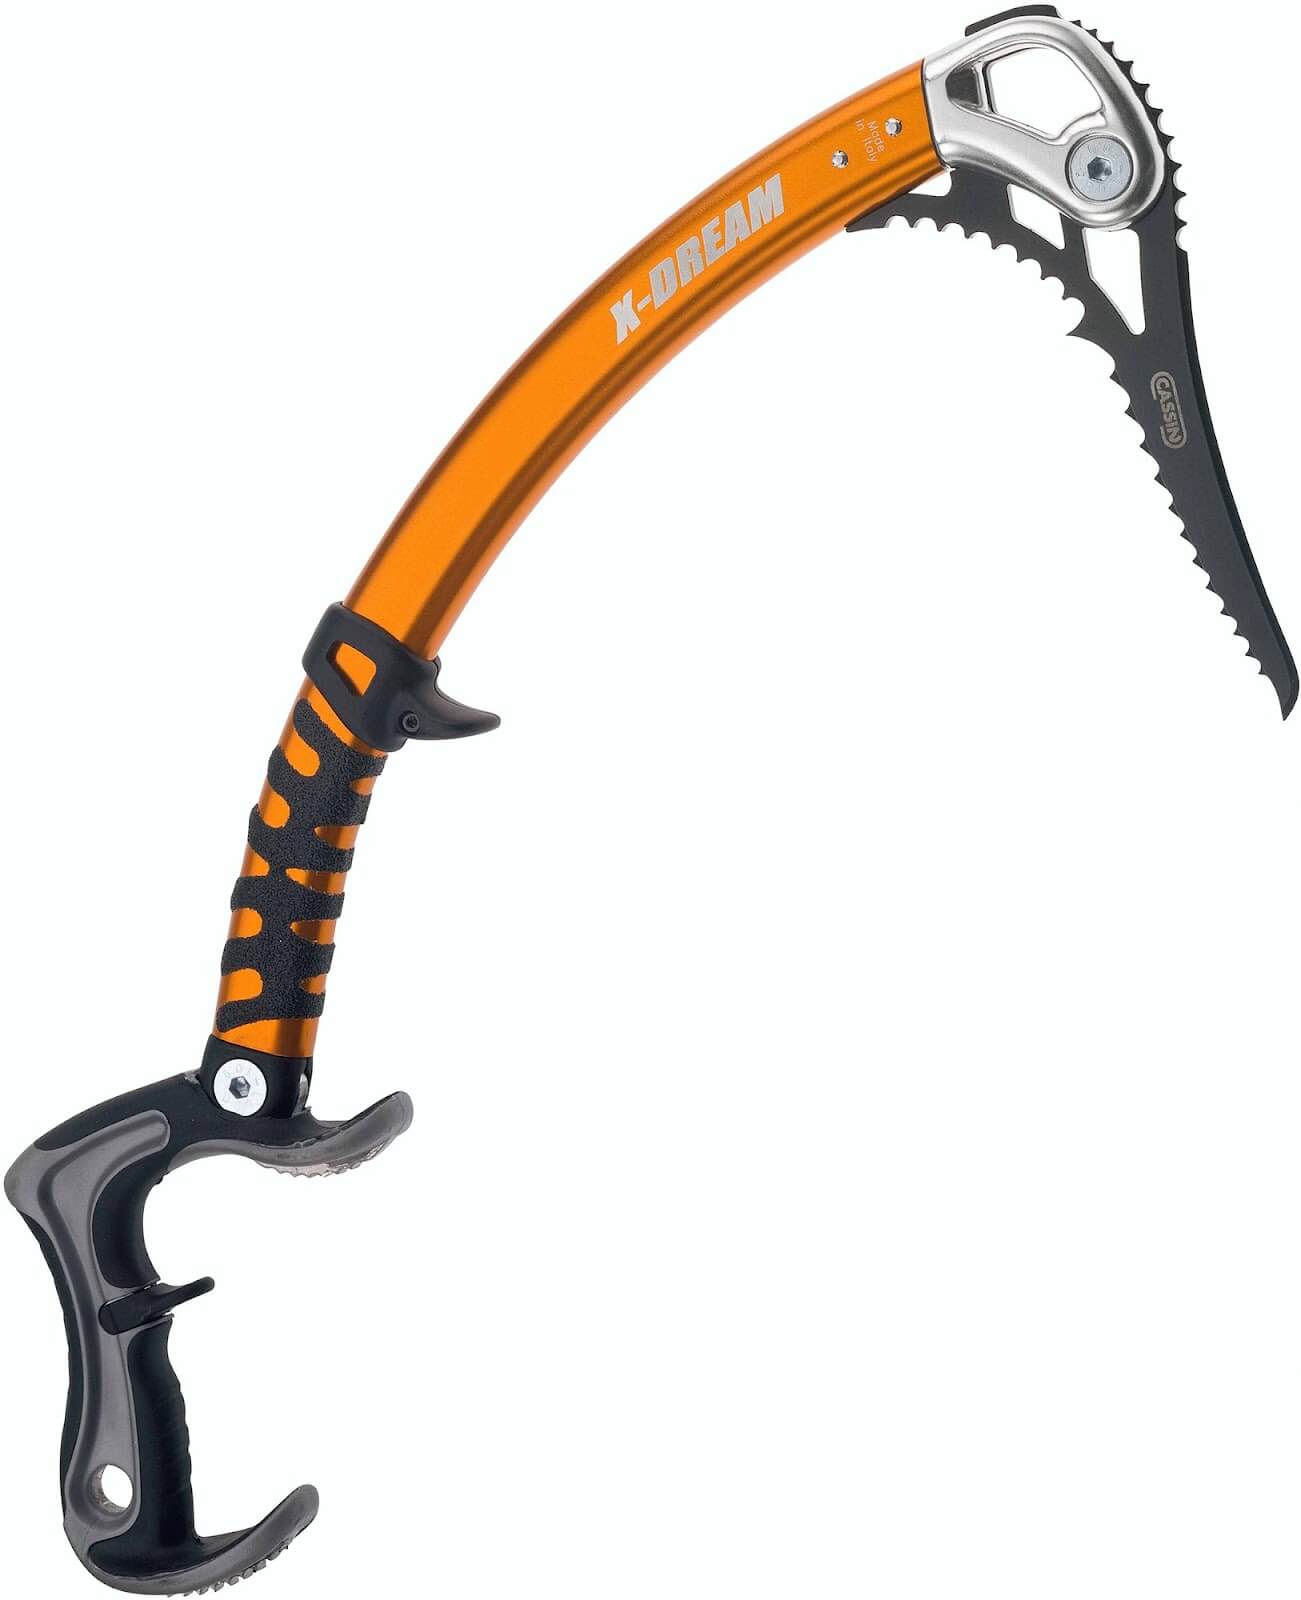
These specialized ice axes are specifically designed for vertical ice climbing and extremely steep terrains. They possess extra aggressive pick angles and extra curved shafts. They are a bit heavier than the regular technical ice axe. Examples of these specialized ice axes include the Cassin X-Dream and the Petzl Nomic among others.
What Size and Length do I Need?
For ice axes, size and length basically mean the same thing. If you want to purchase an ice axe in a climbing shop, the best way to know which axe size is appropriate for you is to follow these simple steps:
- With your winter hiking boots on, stand upright in a relaxed position.
- Hold the axe with the pick pointed to your rear and your thumb resting on the head.
- The spike at the base of the ice axe’s shaft should be beside your ankle or slightly above it (about an inch or 2.5cm).
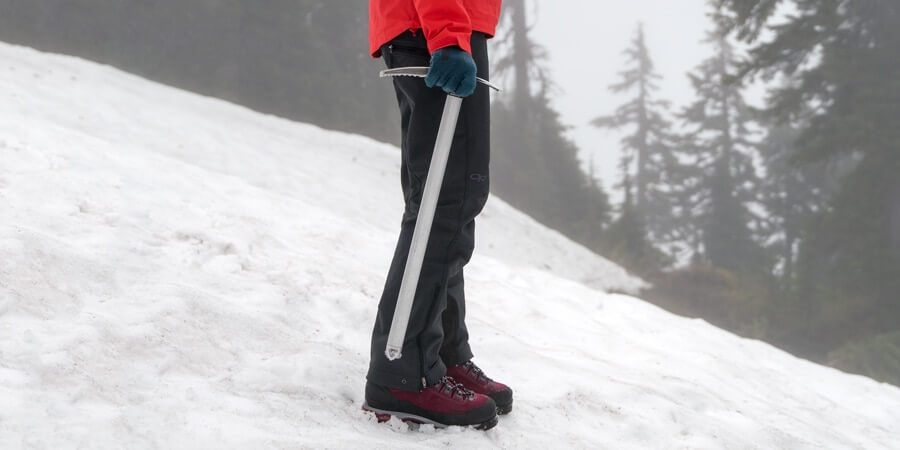
If you are shopping online with no ice axe in hand to take the measurement, you can also follow these similar steps:
- Get someone to assist you. Wearing your hiking boots, stand in a relaxed upright position.
- Hold a hammer (or imaginary hammer) with the claw pointed to the rear and your thumb resting on the head.
- Have your friend measure the distance from the base of your thumb to your ankle.
- Purchase an axe that is close to this measurement.
How to Use an Ice Axe
You must know how to use an ice axe if you want to make the right call in choosing which one to purchase at a shop because the reality is that you will come across a lot of them in various shapes, each with their different climbing applications. We would go through the basic climbing techniques: the axe grip, walking support and self-arrest.
The Axe Grip
This is how you hold your ice axe while walking through a snowfield. There are two types of ice axe grip: the self-arrest grip and the self-belay grip.
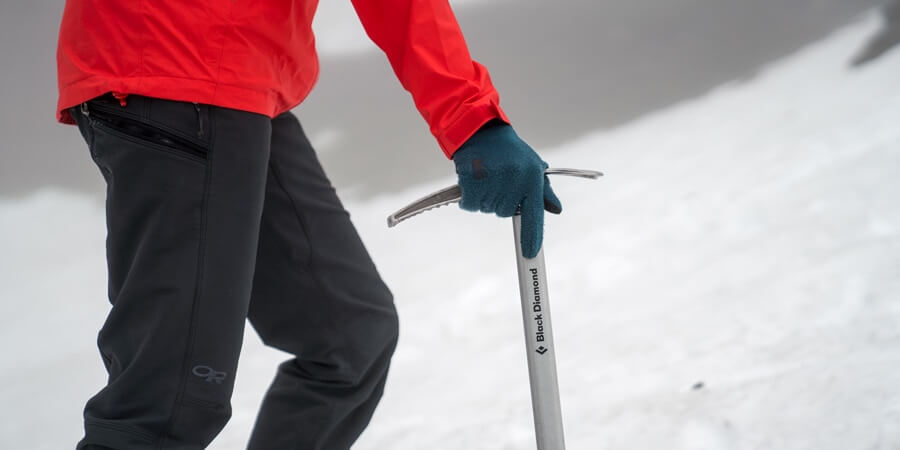
The self-arrest grip – Your uphill hand holds the axe head with the pick pointing backwards and the adze forward. Your thumb should be wrapped under the adze and your other fingers over the pick. This is good as your hand is already in the self-arrest position.
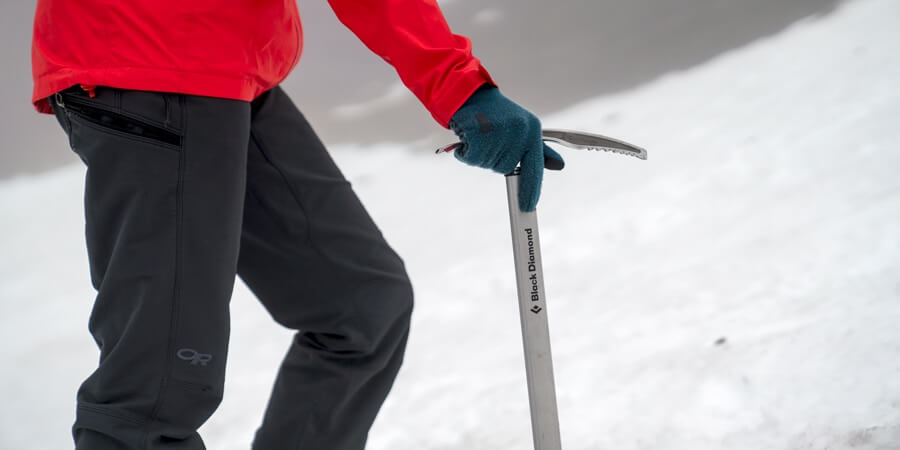
The self-belay grip – Your uphill hand holds the axe head with the adze pointing backwards and the pick forward. Your thumb and forefinger should be wrapped under the pick. This is useful in steeper terrains.
Walking support
As you walk uphill, your ice axe can be used as a walking stick or hiking staff for extra support. Keep your axe in your uphill hand and plant in the snow with every step as you ascend or descend.
The Self-Arrest
This is always recommended for every beginner to learn and perfect before going on any real outing. And a word of advice — always do it as quickly as possible during a fall. These are the main steps of performing a self-arrest:
- Falling or sliding down the slope, grab your ice axe head with your uphill hand and the bottom of the shaft with the other hand.
- Lie on your stomach and get your feet in a pushup position. Do this quickly.
- Drive the axe pick into the snow and make sure your feet face the base of the slope(if not, allow them to get to that orientation after planting the pick). Then pull up the shaft looking downwards to brake the fall.
Practise this with your head uphill and then downhill. Remember in the climbing business, you are responsible for your own safety, so practise this as many times as possible.
Do I Need one Ice Axe or two?
One ice axe is sufficient for mountaineering but if you plan on climbing very steep or vertical terrain, then, in this case, two ice axes would be ideal for you, usually one with a hammer and the other with an adze (normally sold in pairs, see image below).

How to Attach an Ice Axe to a Backpack
This may look like a trivial thing to explain but it is important to know. Simply slide the shaft (spike facing down) through the strap or loop provided at the bottom of the backpack. When the head reaches the strap, twist the axe 180 degrees. The spike should be facing upwards now. Then secure the shaft with the strap provided at the top of the backpack.
Ice Axe Accessories
There are plenty of ice axe accessories to get accustomed to, most of them designed to make your mountaineering experience easier and more convenient. Some useful ice axe accessories include; the leash, crampons, spike protector, ice screws, climbing anchors and hiking cords.


